Creating new docs
This page contains information regarding how to quickly spin up your Docusaurus documentation.
To avoid duplication, Docusaurus documentation will not be rewritten in this repo. Instead, these docs will provide more specific details for the deployment, maintenance, and development of Docusaurus in a manner consistent with the "ConsenSys Way".
- Ensure that you have permissions in the ConsenSys GitHub to create a new repository If you don't, write to the ConsenSys Help Desk, which administers the GitHub organization.
- Have had a brief look at the Docusaurus documentation
- Familiarity with Markdown syntax, specifically MDX
- General understanding of JavaScript and React.js
Walkthrough
Proceed to this repo. You can also click on the GitHub icon on the top-right of the navbar.
Click on the green
"Use this template"button and on the drop-down"Create a new repository".See example

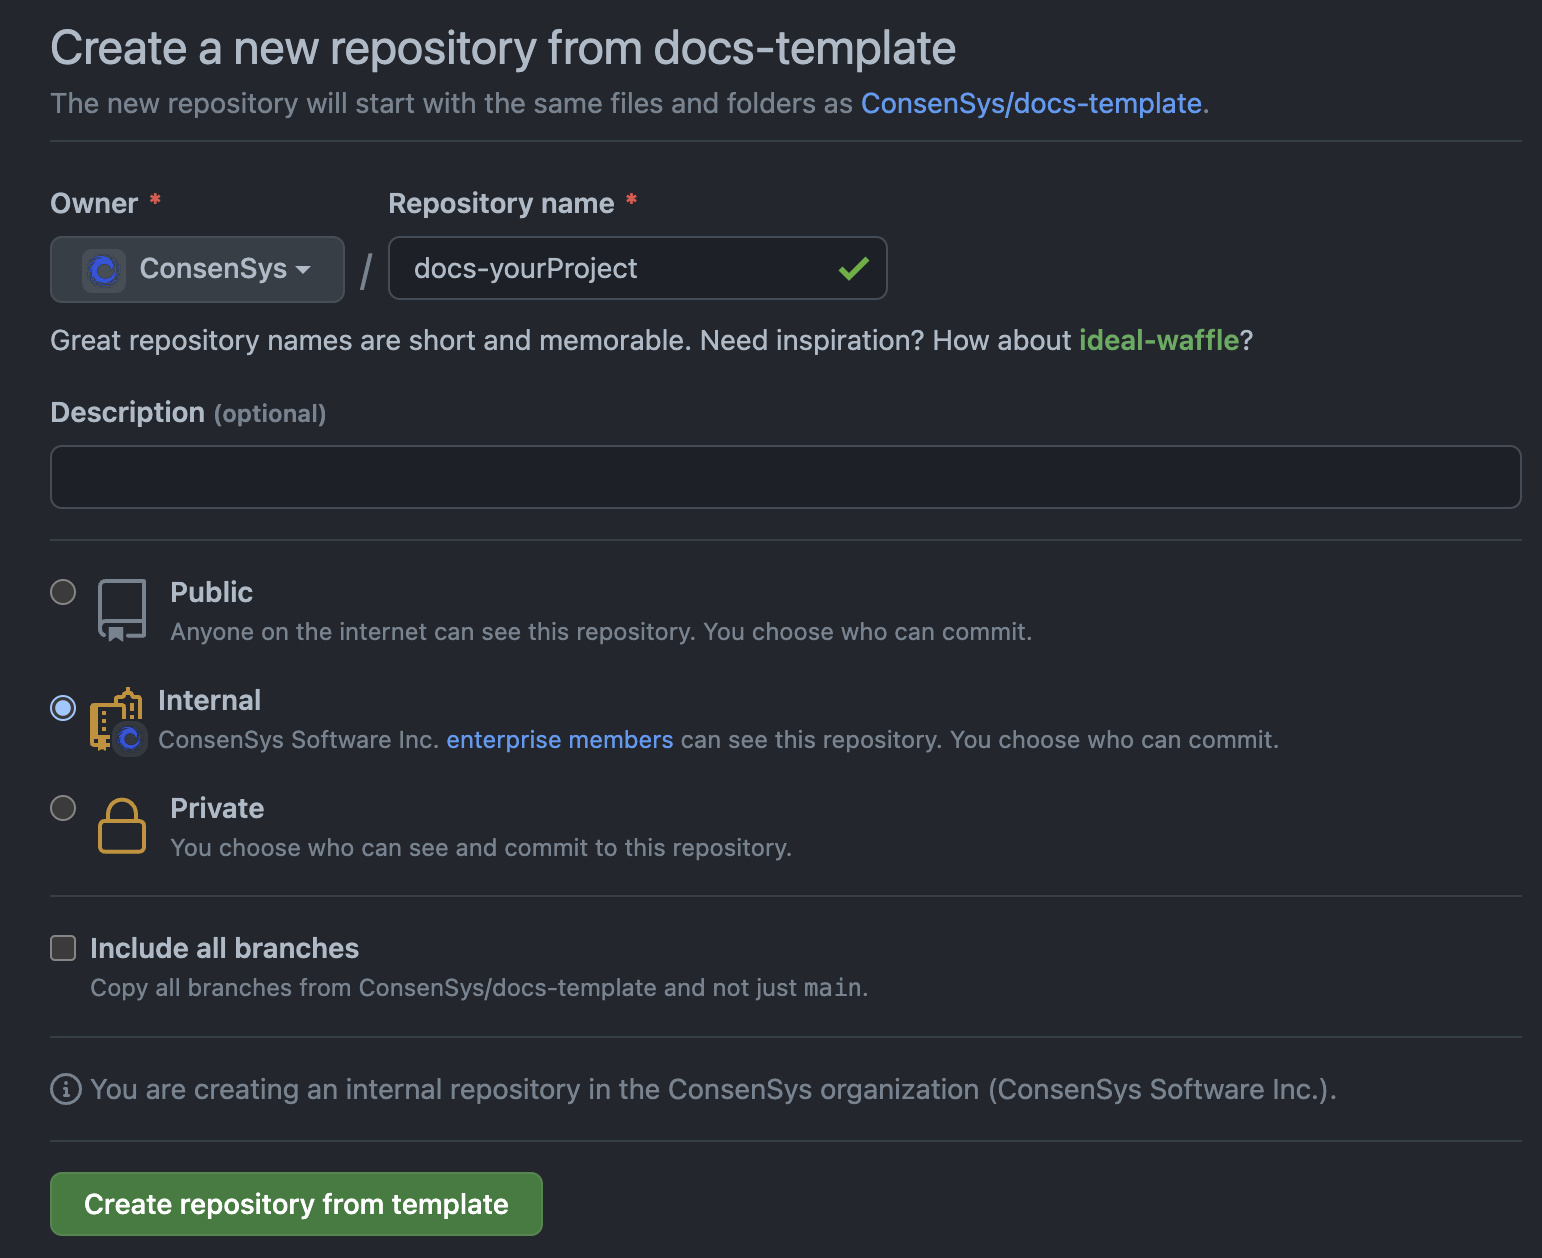
Fill out the details for your fork from the template. Please prefix the repo with
docs-and then include yourproject name. For example,docs-metamaskordocs-infura.See example

Choose
Public,InternalorPrivatedepending on your needs. The difference between Internal and Private is that by default any ConsenSys member can see your repository if set as Internal, whereas Private will be completely invisible except to GitHub administrators of the organization. Consider carefully how public you want your docs to be.After creating the repository, navigate to the
Settingspage which is on the far right side of the<> Codetab.Ensure that the following settings are enabled/disabled from top to bottom for the General tab.
General
- ❌ Template repository
Features
- ❌ Wikis
- ✅ Issues
- ✅ Allow forking
- ❌ Sponsorships
- ❌ / ✅ Discussions
- ❌ / ✅ Projects
Pull Requests
- ❌ Allow merge commits
- ✅ Allow squash merging
- ❌ Allow rebase merging commits
- ❌ / ✅ Always suggest updating pull request branches
- ❌ Allow auto-merge
- ✅ Automatically delete head branches
Go to the
Collaborators and teamsunderAccesson the left sidebar. Addprotocol-plinyfrom the greenAdd teamsbutton. Add any other relevant teams, such as your own as needed.At the moment, it is not possible to easily use branch protection on
mainwhen using thesemantic-releaseplugin. If you disable this, then branch protection can be enabled.
Running locally
You will need to have Node.js installed to run the live previews of the docs locally.
It is highly recommended that you use a tool like nvm to manage Node.js versions on your machine.
Installing recommended Node.js version with nvm
- Follow the above instructions to install
nvmon your machine, or go here. - Go to root folder of this project in your terminal.
- Run
nvm installfollowed bynvm use. This will install the version specified by this project in the.nvmrcfile.
Running this project
Navigate to root folder of the project after installing Node.js
Run the following in sequence, which only needs to be done once:
npm install
npm run prepare
To preview and for every time afterwards:
npm run start